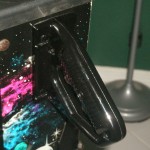
This gallery contains 3 photos.
I have a pretty nice STTNG, but the finish on the coin door, a few bolts here and there, and the gun shooter need to be repainted to make it even better. I started with the gun shooter. The gun … Continue reading


This gallery contains 3 photos.
I have a pretty nice STTNG, but the finish on the coin door, a few bolts here and there, and the gun shooter need to be repainted to make it even better. I started with the gun shooter. The gun … Continue reading
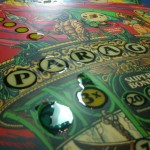
This gallery contains 3 photos.
After finishing all the touch ups, I started spraying an automotive type clear coat to Paragon last week. I got two coats applied and wet sanded it with 600 grit sand paper. Even though I removed every insert from the … Continue reading
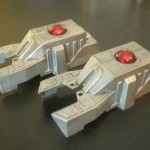
This gallery contains 8 photos.
Just finished painting my Star Trek Next Generation pinball cannons. These look 1000% better than the original plastic. I painted them to resemble heavy, thick metal that has seen many battles. They look like die cast metal reproductions! The flat … Continue reading
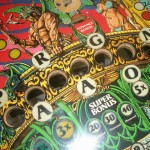
This gallery contains 3 photos.
Some progress is being made. The touch up is almost done and I started popping out the PARAGON inserts and flattening them. Next step is to glue them back in and work on the rest.
I finally got all the mylar off. It took FOREVER!
The 2nd mylar had to be removed with a heat gun, since cold spray caused it to turn brittle and crack. Goo Gone and camping fuel softened up the glue for removal. The original pop bumper mylar came off with freeze spray, but the glue was super stubborn. Goof off had to be used.
Time to touch this sucker up!
This gallery contains 4 photos.
Here’s a close up of the mylar removal so far. This was not easy and very tedious.