Wet sanded and polished! After many hours of hard work, this playfield is ready for assembly. She’s a beauty!
Can you see the plane in the reflection in the photo below? That’s an accurate reflection from thousands of feet away!

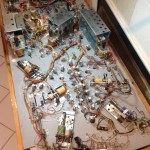
This gallery contains 1 photo.
I’ve finished the bottom of the Fathom playfield swap. I installed new bulb sockets, new drop targets, cleaned every switch, and refurbished every metal bracket and housing. Time: 30 hrs (just for the bottom) Things to note: Many of the … Continue reading
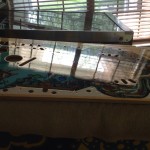
This gallery contains 2 photos.
I did my usual wet sand and polish on this CPR playfield (on left.) Here it is next to the one it’s replacing. I already did some touch up on it before getting the new one. The main difference is … Continue reading
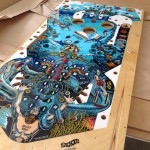
This gallery contains 2 photos.
I got a new CPR playfield for this project. It took two years to locate one because of the rarity of these, but finally I can get this project back on track.
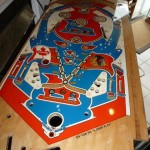
This gallery contains 4 photos.
I filled the inserts on this one, sanded it, then buffed it out to a super shine. It had already been clear coated. I laid it on my Stern Lightning for a few photos so the reflections can be seen. … Continue reading
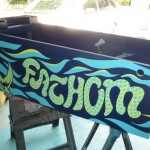
This gallery contains 23 photos.
Fathom has been repainted with stencils from Pinball Pal. These stencils were a major pain to work with and required all the letters from “Fathom” to be cut out individually and reapplied due to buckling and misalignment. Also, they were … Continue reading
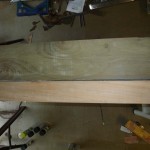
This gallery contains 9 photos.
The Fathom cabinet has been sanded down to the bare wood and is ready for repair and paint. This is going to look super nice when it’s done!
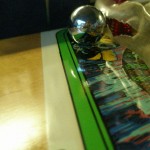
This gallery contains 4 photos.
Here’s a close up of the mylar removal so far. This was not easy and very tedious.